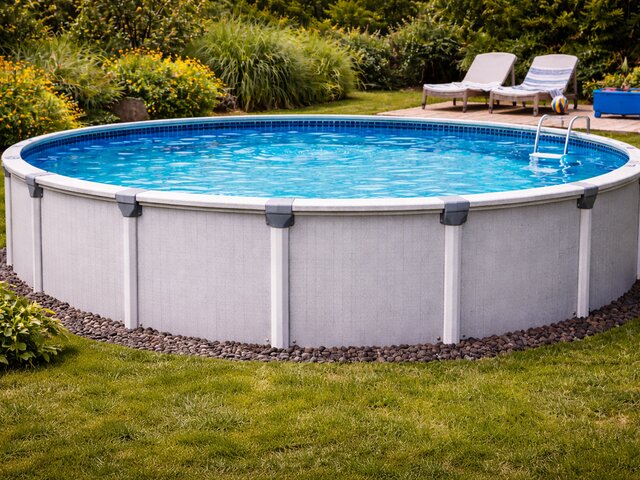
Above Ground Pool Installation: Complete Step-by-Step Guide

Installing above ground pool - what's involved?
Read full question
I'm installing an above ground pool and need to know about site prep, what order to assemble everything, and how long this will realistically take. Don't want to mess this up.
Quick Answer
Installing an above ground pool comes down to careful site prep — level the ground within 1 inch by cutting the high side down, never building up the low side — then assembling the bottom rails, walls, and uprights, setting the liner, and hooking up the pump and filter. It's typically a 6-12 hour job for 2-3 people. Once filled, balance the water (alkalinity, pH, calcium, stabilizer) and bring free chlorine to the right target for your CYA level; our calculators give the exact doses.
Site Preparation and Planning
Proper site preparation is absolutely critical for a successful above ground pool installation. Choose a location that receives adequate sunlight, is away from trees and power lines, and provides easy access for maintenance. The area should be level within 1 inch across the entire pool diameter - more than that risks an unstable wall, and many manufacturers void the warranty beyond 1 inch.
Mark your pool area using spray paint, adding 3 feet on all sides for working space. Remove all grass, roots, and debris within the marked area. Use a transit level or water level to identify high and low spots. Level by cutting the high side down to firm, undisturbed soil - never build up the low side with sand or fill. Loose fill settles unevenly under the weight of the water and is a leading cause of wall failure and liner damage, while cut-down native ground stays put. (Sand comes later as a thin protective padding layer over level ground, not as a way to raise low spots.)
Install a 2-4 inch base of masonry sand across the entire pool area, extending 1 foot beyond the pool walls. Use a long straight board to screed the sand perfectly level. Compact lightly with a plate compactor if available, but avoid over-compaction which creates a hard surface.
Bottom Rail and Wall Assembly
Begin assembly by laying out bottom rails according to your pool's configuration. Most round pools use curved bottom rails that connect with metal plates, while oval pools combine straight and curved sections. Ensure all connections are tight and the rail system forms a perfect circle or oval.
Install wall uprights at designated locations, typically every 5-8 feet depending on pool size. These provide structural support and must be perfectly plumb. Use a level to verify each upright before proceeding.
Unroll the pool wall inside the bottom rail system. Important: The wall's skimmer and return openings must align with your planned equipment locations. Work carefully to avoid kinks or sharp bends in the metal wall. Connect the wall ends with the provided bolts, ensuring a tight, straight seam.
Liner Installation Process
Pool liner installation requires warm weather (above 70°F) for flexibility. On cool days, lay the liner in sunlight to warm before installation. Center the liner in the pool with equal overlap on all sides. The liner should drape naturally without stretching.
Install the liner bead into the top rail channel, working around the pool systematically. Start at the deep end (for ovals) and work toward shallow areas. Pull out wrinkles as you progress, but don't over-stretch the liner. Small wrinkles near returns and corners are normal and will often disappear when filled.
Cut openings for skimmer and return fittings using a utility knife, leaving the liner slightly larger than the opening. Install gaskets and faceplates according to manufacturer specifications, ensuring watertight seals.
Equipment Setup and Connections
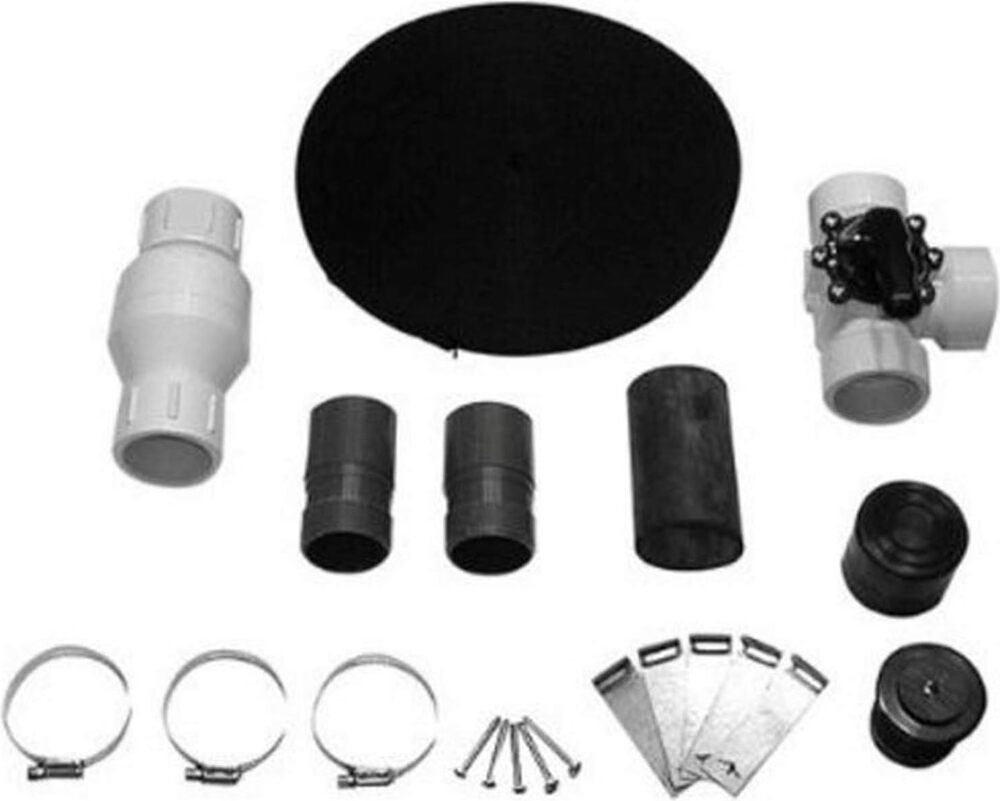
Install your filter system on level ground within 6 feet of the pool for optimal performance. Connect the skimmer to the pump inlet using flexible hose or rigid PVC, maintaining a slight downward slope to prevent air pockets. The return line connects from the filter outlet back to the pool return fitting.
Prime your pump system before startup by filling the pump basket and adding water to the system. Never run a pool pump dry - this will damage the impeller and seals. Check all connections for leaks before proceeding to water filling.
Install pool steps or ladder according to manufacturer instructions, ensuring secure attachment to top rails and proper weight distribution.
Water Filling and Chemical Startup
Begin filling with a garden hose placed in the pool center to avoid disturbing the sand base. Fill slowly for the first few inches, watching for liner movement or wrinkles. As water level rises, the liner will conform to the pool shape.
When water reaches the skimmer opening (typically 3/4 full), start your circulation system. Check for proper flow and address any air leaks in the suction lines. Adjust return fittings to create circular water movement.
For chemical startup, test and balance your water chemistry in this order:
For a handy reference to calculate the correct dosages, use our all-in-one pool calculator. Alternatively, you can do it by hand using the following steps:
- Adjust total alkalinity to 80-120 ppm using sodium bicarbonate
- Add stabilizer (cyanuric acid) to reach 30-50 ppm for a liquid-chlorine pool, or 70-80 ppm only if you run a salt chlorine generator (use the sock method in the skimmer; CYACyanuric Acid (stabilizer) — Sunscreen for your chlorine — it keeps sunlight from burning it off. The catch: the more you have, the more chlorine you need to keep. learn more → dissolves slowly, so allow 24-48 hours and don't expect it to fully clear in a bucket)
- Balance pH to 7.4-7.6 using muriatic acid or sodium carbonate
- Add calcium hardness if needed to reach 175-225 ppm for vinyl pools
- Shock with liquid chlorine to 6-8 ppm free chlorine for initial sanitization
Test water every 2-3 days during the first week, adjusting chemicals as needed. Once chemistry stabilizes, maintain 6-8 ppm free chlorine based on your stabilizer level.
Common Installation Mistakes to Avoid
Avoid these frequent errors that lead to problems:
- Insufficient site preparation - rushing ground prep causes long-term structural issues
- Installing on unlevel ground - creates stress points and premature wear
- Over-tightening wall connections - can cause metal fatigue and cracking
- Stretching liner during installation - leads to premature failure
- Inadequate equipment priming - causes pump damage and poor circulation
- Improper chemical startup sequence - can damage equipment and create water problems
Take your time with each phase, especially site preparation and liner installation. Rushing these critical steps often requires costly repairs or complete reinstallation.
For the full breakdown of safe chlorine levels by CYA level, see our pool water chemistry guide.
Still need help? Ask a Pool & Spa Expert AD
Get a personalized answer from PoolGuy810 — 30 years owning a pool and spa repair company. Describe your issue and get step-by-step help.
Related Pool Guides
Need More Help?
Try our free pool calculators and tools to help diagnose and fix your pool problems.
Browse Pool ToolsSLAM calculator, pH calculator, salt dosing & more