Can You Reuse a Pool Liner? Complete Reuse Guide 2026

Is my old pool liner worth saving or should I just buy new?
Read full question
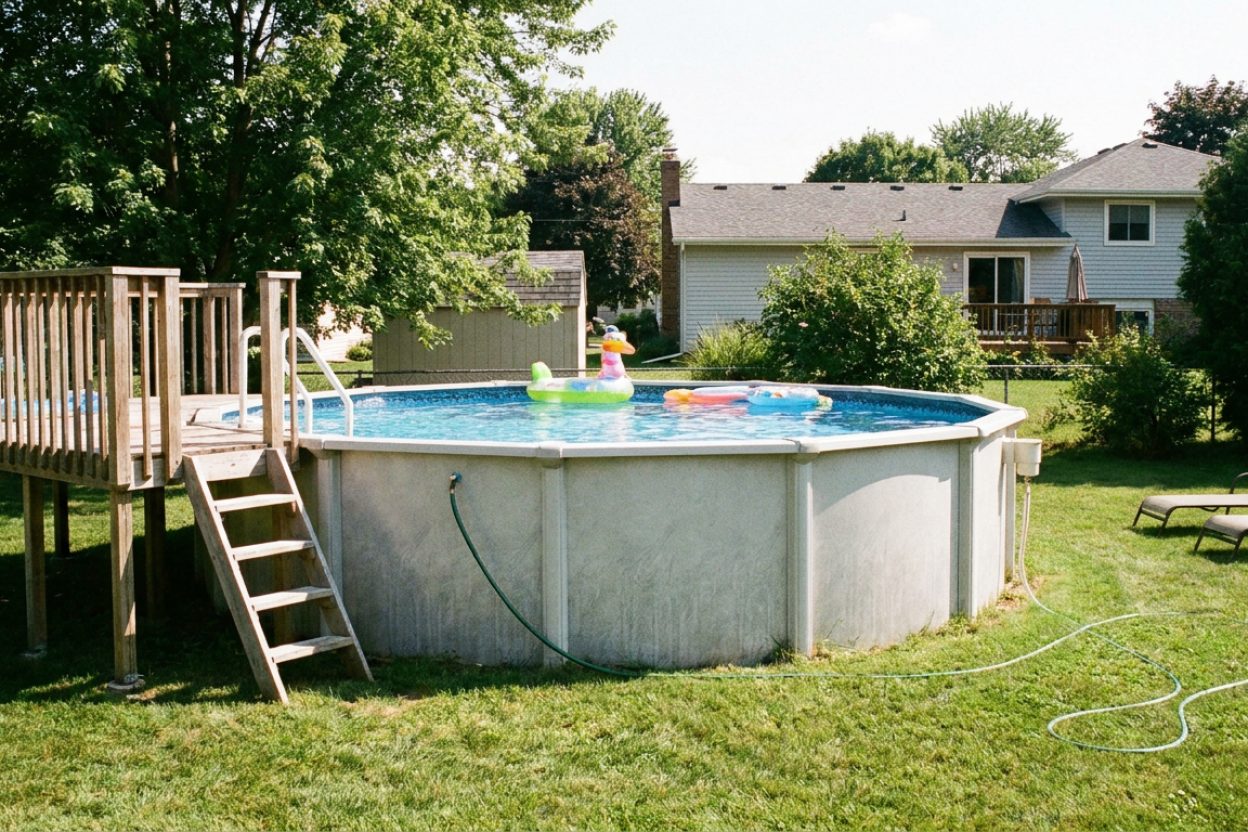
Took down the above ground pool last fall and the liner sat folded in the garage all winter. Setting it back up this spring and wondering if I can reuse it or if the creases and folds have already ruined it. Buying a new one seems wasteful if this one's still good.
Quick Answer
Usually not. Once a vinyl liner is drained and removed it shrinks and stiffens within days, so it rarely fits back into the same pool — and a liner left dry and folded for months is the worst case, prone to cracking along the creases. Reuse is only occasionally feasible with a liner that's just a season or two old and was kept from drying out. Good year-round water chemistry extends a liner's life, but plan on replacing rather than reusing once it has been drained.
Step-by-Step Liner Reuse Assessment
Step 1: Inspect the Liner Before Removal
- Examine the entire liner surface while the pool is still filled, looking for any tears, holes, or thin spots
- Check all seams carefully, as these are the most common failure points
- Look for areas where the liner appears stretched beyond recovery or has permanent wrinkles
- Inspect the liner's attachment points at the pool wall for tears or excessive stretching
- Note any areas with chemical staining or bleaching, which indicates material degradation
Step 2: Test Liner Flexibility and Thickness
- Gently pinch sections of the liner between your fingers to check thickness consistency
- Test flexibility by gently stretching a small section - it should return to original shape
- Pay special attention to areas that were exposed to direct sunlight, as UV damage reduces elasticity
- Check corners and step areas where stress concentrates during use
- Measure the liner thickness with calipers if available - significant thinning indicates replacement is needed
Step 3: Proper Removal Technique
- Drain the pool completely, allowing 24-48 hours for thorough drainage
- Remove any deck or coping that might interfere with liner removal
- Carefully detach the liner from the wall track, working slowly to avoid tearing
- Have at least two people handle the liner to prevent dragging or folding sharply
- Clean off any debris or algae buildup using a soft brush and mild detergent
- Allow the liner to dry completely in shade - never let it sit in direct sunlight during drying
Step 4: Proper Storage Methods
- Fold the liner accordion-style rather than rolling to prevent permanent creases
- Place cornstarch-based powder between folds to prevent the vinyl from sticking together
- Store in a cool, dry location away from direct sunlight and temperature extremes
- Keep the liner off concrete floors using cardboard or wooden pallets
- Cover with a tarp or plastic sheeting to protect from dust and moisture
- Check stored liner monthly for signs of mold, mildew, or pest damage
When Reuse Isn't Recommended
Chemical Damage Indicators
A liner that has been exposed to improper water chemistry cannot be safely reused. Never reuse a liner if you see bleached areas, brittleness, or if the pool consistently had pH levels outside the 7.2-7.8 range. Chlorine held well above the target for your CYACyanuric Acid (stabilizer) — Sunscreen for your chlorine — it keeps sunlight from burning it off. The catch: the more you have, the more chlorine you need to keep. learn more → for extended periods also causes irreversible damage.
Physical Damage Assessment
Liners with multiple patch repairs, seam separations, or areas where the material has thinned significantly should not be reused. Even small tears will likely expand during reinstallation due to the stress of stretching the liner back into position.
Reinstallation Considerations
Step 5: Pre-Installation Preparation
- Inspect your pool wall and track system for any damage that occurred during liner removal
- Replace any damaged track sections or wall panels before liner installation
- Ensure the pool base is completely smooth and free of sharp objects
- Install new bottom padding if the original padding shows wear or compression
- Check that all skimmer and return fittings are in good condition
Step 6: Installation Process
- Choose a warm, sunny day for installation - heat makes the liner more flexible
- Start installation early morning to take advantage of warming temperatures throughout the day
- Work methodically around the pool, ensuring even distribution of material
- Use a shop vacuum with a vacuum plate attachment to help draw the liner into corners and against walls
- Fill the pool slowly while continuously adjusting the liner position
- Monitor for wrinkles or air bubbles that need to be worked out during filling
Cost-Benefit Analysis
While reusing a liner can save $200-800 depending on pool size, consider the risks. A failed reused liner means purchasing a new liner anyway, plus potential damage to your pool structure from water loss. Professional liner installation typically costs $300-600, so factor this into your decision if you're not comfortable with DIY installation.
Maintenance Tips for Future Reuse
If you're planning to reuse your liner again in the future, maintain proper water chemistry year-round. Keep pH between 7.4-7.6, free chlorine at the right level for your CYA (typically 4-8 ppm for a stabilized outdoor pool) with appropriate CYA levels of 30-50 ppm for outdoor pools (0-30 ppm for indoor pools), and total alkalinity between 80-120 ppm. Use a Taylor K-2006 test kit for accurate readings, and never use tri-chlor tablets without proper CYA monitoring.
Safety Warning: Never attempt liner removal or installation alone. Always have assistance and ensure proper lifting techniques to prevent injury.
For the full breakdown of safe chlorine levels by CYA level, see our pool water chemistry guide.
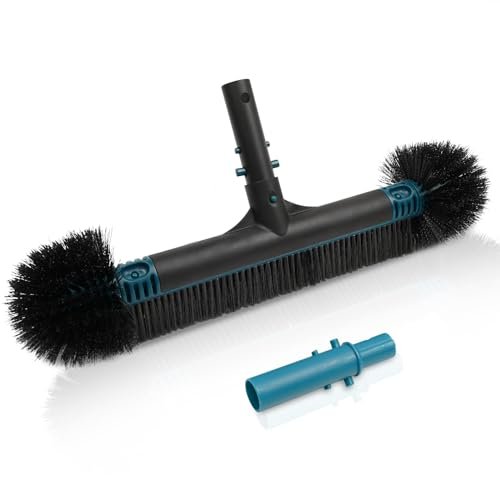 Poolvio 20" 2-in-1 Pool Brush Head (Walls & Floor)
Sturdy 20-inch brush head that clips onto any standard telescopic pole. View on Amazon →
Poolvio 20" 2-in-1 Pool Brush Head (Walls & Floor)
Sturdy 20-inch brush head that clips onto any standard telescopic pole. View on Amazon →
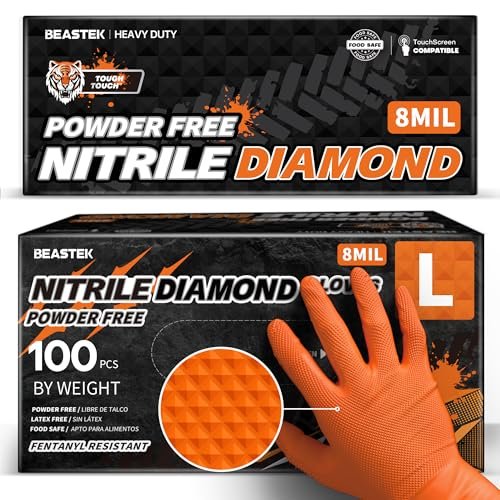 Beastek 8-mil Chemical-Resistant Nitrile Gloves
Disposable nitrile gloves for safe handling of pool chemicals. View on Amazon →
Beastek 8-mil Chemical-Resistant Nitrile Gloves
Disposable nitrile gloves for safe handling of pool chemicals. View on Amazon →
Still need help? Ask a Pool & Spa Expert AD
Get a personalized answer from PoolGuy810 — 30 years owning a pool and spa repair company. Describe your issue and get step-by-step help.
Related Pool Guides
Need More Help?
Try our free pool calculators and tools to help diagnose and fix your pool problems.
Browse Pool ToolsSLAM calculator, pH calculator, salt dosing & more