Can You Vacuum Pool After Shock? Complete Safety Guide

How long should I wait to vacuum my pool after shocking it?
Read full question
Last night my wife casually mentioned our 20,000 gallon inground pool still looks cloudy after yesterday's calcium hypochlorite shock treatment, and now it's all I can see. I added about 2 pounds of shock around 7 PM, and now this morning I'm wondering when it's safe to start vacuuming.
I have a lot of debris that settled to the bottom overnight, including some leaves and dirt that blew in during a storm. My test strips are showing the chlorine is still pretty high - looks like it's reading around 8-10 ppm this morning. I don't want to damage my pool equipment or create any safety issues, but I'm eager to get the pool cleaned up since we have guests coming over this weekend.
What's the recommended waiting period before I can safely vacuum? Should I wait for the chlorine to drop to a certain level first, or is there a standard timeframe I should follow regardless of the chemical readings?
Quick Answer
There is no free-chlorine level you have to wait for before vacuuming — pool water at shock or even SLAM level is safe for a manual vacuum, your pump, and a vinyl liner. Timing is practical: let the shock circulate and dead algae settle, brush first, and vacuum to waste for heavy fallout. The one real exception is robotic cleaners, which should come out during shocking.
It’s About Debris and Circulation, Not Chlorine
The idea that you must wait until free chlorine drops below 5 ppm before vacuuming mixes up two very different things. Concentrated chlorine — straight liquid chlorine poured onto a seal, or a robot left soaking in shock for hours — really can degrade rubber and plastic over time. But the diluted chlorine in your pool, even at SLAMShock Level And Maintain — raise free chlorine to a target based on your CYA and hold it there until the algae is gone. It's a process, not a one-time dose. the SLAM walkthrough → levels, will not. Per the CDC pool code (Model Aquatic Health Code), free chlorine should not exceed 10 ppm while anyone is in the water, so wait until it is below 10 ppm to swim. The same code also calls for the water to be clear enough to see the bottom and pH held at 7.2-7.8 before anyone swims. So vacuum whenever it helps; the shock type only changes how long you wait for practical reasons.
Calcium Hypochlorite (Cal-Hypo) Shock
Cal-hypo granules dissolve slowly. The reason to give it 12-24 hours (pump running) isn’t the chlorine — it’s so the granules fully dissolve and don’t get stirred up, clouding the water or sitting undissolved on the floor. Pre-dissolving cal-hypo in a bucket of pool water avoids this entirely.
Sodium Hypochlorite (Liquid Chlorine)
Liquid chlorine mixes in within an hour or two with the pump running, so there’s little to wait for — vacuum once it’s circulated. It’s the preferred shock for the SLAM (Shock Level And Maintain) method, where you brush and vacuum repeatedly while chlorine is high.
Potassium Monopersulfate (Non-Chlorine Shock)
Non-chlorine shock (like Oxone) doesn’t raise chlorine at all, so you can vacuum immediately. It oxidizes organic gunk but doesn’t kill algae, so think of it as a maintenance oxidizer, not an algae treatment.
Step-by-Step: Vacuuming After Shock
- Brush first - knock algae and debris off the walls and steps so it settles where you can reach it.
- Let it circulate - run the pump a few hours after shocking so chemicals distribute and fine debris settles. With liquid chlorine that’s a couple of hours; with granular, give it longer so the granules fully dissolve.
- Choose your route - vacuum through the filter for light debris, or vacuum to waste for heavy dead-algae fallout so you don’t clog or overload the filter.
- Use a manual vacuum if chlorine is high - pull robotic/automatic cleaners out while FCFree Chlorine — The chlorine actively sanitizing your water right now. This is the number you keep an eye on. how much you need → is at shock level; don’t leave them soaking in it.
- Re-test and rebalance - once the water clears, check pH (shocking can nudge it up) and bring it back to 7.2-7.6.
What Actually Damages Equipment (and What Doesn’t)
Diluted pool chlorine: fine
A manual vacuum head, hose, and your pump handle shock-level pool water without trouble — it’s the same water you’d be standing in during a SLAM. You don’t need to wait for FC to fall before vacuuming safely.
The real exceptions
- Robotic / automatic cleaners - take them out during shocking; hours in high chlorine can degrade seals and electronics.
- Concentrated chlorine - pouring straight liquid chlorine or undissolved cal-hypo near equipment (or into the skimmer right at the pump) is what harms seals. Add chemicals to the water, around the perimeter, with the pump running.
Vinyl and Other Surfaces
Vinyl liners tolerate shock-level chlorine for the length of a normal shock or SLAM — TFP rates SLAM-level water as safe for equipment and surfaces. What actually harms a liner is sustained abusive chlorine, or pouring concentrated chlorine onto one spot, not a routine shock you then vacuum. Fiberglass and plaster are even more forgiving.
Troubleshooting
Cloudy water while vacuuming
Usually means undissolved granules or dead algae are getting stirred up. Let it settle, brush again, and vacuum to waste; a clarifier can help coagulate fine particles for easier pickup. (This needs a sand or DE filter with a multiport "waste" valve — cartridge filters have no waste setting, so with a cartridge you vacuum through the filter and then clean or replace it, or run a separate utility/manual pump that sends the water out of the pool.)
Heavy dead-algae load
After killing algae, expect a lot of fallout. Vacuum to waste, top the water back off, and backwash or clean the filter more often than usual during cleanup.
When Vacuuming Is Part of a SLAM
During a Trouble Free Pool SLAM you keep chlorine at shock level (often 10-30+ ppm, depending on your CYACyanuric Acid (stabilizer) — Sunscreen for your chlorine — it keeps sunlight from burning it off. The catch: the more you have, the more chlorine you need to keep. learn more →) the whole time — and you brush and vacuum daily at those levels. That’s the clearest proof the “wait until FC is below 5 ppm” rule is a myth:
- Vacuum to waste to avoid refiltering dead algae
- Use a manual vacuum, not a robot, while FC is high
- Vacuum daily and keep FC at shock level until the water is clear and passes an overnight chlorine-loss test
A Few Best Practices
Shock in the evening so UV doesn’t burn off the chlorine before it works. Pre-brush before shocking to loosen attached algae. Run the pump continuously through the cleanup. And pre-dissolve granular products in a bucket to skip the undissolved-granule problem altogether.
For the full breakdown of safe chlorine levels by CYA level, see our pool water chemistry guide.
 Taylor K-2006C Complete FAS-DPD Pool & Spa Test Kit
The FAS-DPD kit pool pros trust — reads chlorine accurately even at shock/SLAM levels, plus pH, alkalinity, calcium hardness and CYA. View on Amazon →
Taylor K-2006C Complete FAS-DPD Pool & Spa Test Kit
The FAS-DPD kit pool pros trust — reads chlorine accurately even at shock/SLAM levels, plus pH, alkalinity, calcium hardness and CYA. View on Amazon →
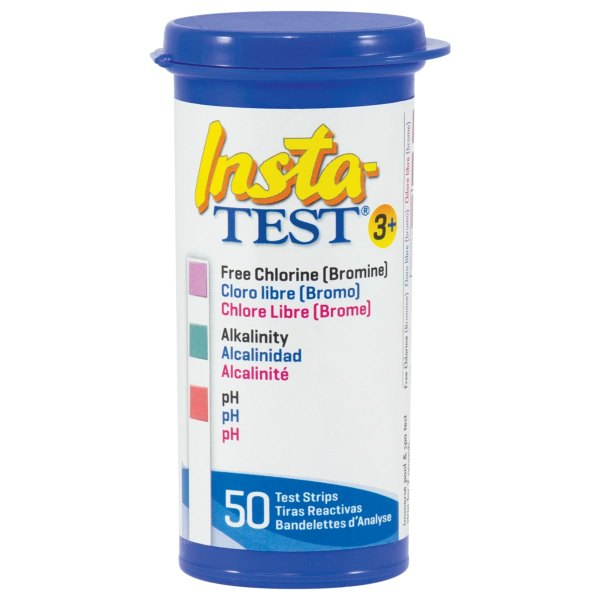 LaMotte Insta-Test 3 Pool Strips (50 ct)
Pro-grade 3-way strips from LaMotte — chlorine, pH & alkalinity, fast and accurate. Top-rated at 4.8★. View on Amazon →
LaMotte Insta-Test 3 Pool Strips (50 ct)
Pro-grade 3-way strips from LaMotte — chlorine, pH & alkalinity, fast and accurate. Top-rated at 4.8★. View on Amazon →
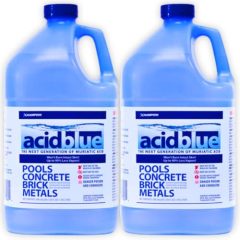 Acid Blue - Low Fume Muriatic Acid for Swimming Pools & Spas - Lower's pH, Reduces Alkalinity - 2 Gallon
View on Amazon →
Acid Blue - Low Fume Muriatic Acid for Swimming Pools & Spas - Lower's pH, Reduces Alkalinity - 2 Gallon
View on Amazon →
Still need help? Ask a Pool & Spa Expert AD
Get a personalized answer from PoolGuy810 — 30 years owning a pool and spa repair company. Describe your issue and get step-by-step help.
Need More Help?
Try our free pool calculators and tools to help diagnose and fix your pool problems.
Browse Pool ToolsSLAM calculator, pH calculator, salt dosing & more