Do You Remove Skimmer When Closing Pool? Step-by-Step Guide

What parts of my skimmer do I remove when closing the pool?
Read full question
I opened my weather app to see the first freeze hits this weekend and I'm staring at this skimmer wondering if I need to yank it out or leave it. I know I need to do something with the skimmers, but I'm getting conflicting advice online about what exactly needs to come out.
Do I need to physically remove the entire skimmer unit from the pool wall, or just certain components? I've heard about removing baskets and doors, but I want to make sure I'm not missing anything that could get damaged over winter. Last thing I need is expensive repairs come spring after this disaster of a season.
Quick Answer
You don't remove the entire skimmer when closing your pool, but you should remove skimmer baskets and weir doors. The skimmer housing stays in place while you add winterizing plugs or antifreeze to prevent freeze damage.
Step-by-Step Skimmer Winterization Process
- Lower your pool water level - Drop the water to approximately 4-6 inches below the skimmer opening. This prevents water from sitting in the skimmer throat where it could freeze and crack the housing.
- Remove the skimmer basket - Lift out the plastic basket that collects debris. Clean it thoroughly and store it in a dry location like your garage or basement. Leaving it in can cause cracking if water freezes inside.
- Remove the weir door (flapper) - If your weir releases easily, lift it out of its brackets; if it's a type held by a fragile tab or pin, leave it in place rather than risk snapping the tab and damaging the skimmer. Like the basket, this plastic component can crack from ice expansion. Store it with your other pool equipment.
- Check the skimmer throat - Look inside the skimmer opening where water normally flows in. Remove any debris, leaves, or buildup that could block water flow or freeze.
- Blow out the lines - Use a shop vacuum or air compressor to blow water out of the plumbing lines connected to the skimmer. This includes the line going to your pump and any equalizer lines.
- Add skimmer plugs or antifreeze - Install expandable rubber plugs in the skimmer's suction line openings, or add pool antifreeze (propylene glycol) to the skimmer well. Never use automotive antifreeze as it's toxic.
- Install the skimmer cover - Place a skimmer cover or winter plate over the opening to keep debris out during winter months. Secure it properly to prevent wind damage.
Why the Skimmer Housing Stays Put
The skimmer housing is permanently built into your pool's structure. It's either molded into a fiberglass pool, built into a concrete pool's wall, or sealed into a vinyl liner pool's wall. Attempting to remove it would damage your pool and isn't necessary for proper winterization.
Different Approaches by Pool Type
Vinyl Liner Pools
For vinyl pools, be extra careful when removing components to avoid tearing the liner. The skimmer faceplate may need to be partially loosened to access certain plugs, but the main housing stays connected to the liner.
Concrete and Fiberglass Pools
These pools typically have more robust skimmer installations. Focus on protecting the plumbing lines and ensuring proper drainage rather than worrying about the housing itself.
Common Winterization Mistakes to Avoid
- Leaving water in the skimmer - Even a small amount of water can cause expensive damage when it freezes and expands
- Forgetting the equalizer line - Many skimmers have a secondary line that also needs to be blown out and plugged
- Using the wrong antifreeze - Only use pool-grade propylene glycol antifreeze, never automotive ethylene glycol
- Over-tightening plugs - Expandable plugs should be snug but not over-expanded, which can crack the fitting
- Skipping the cover - An uncovered skimmer collects debris all winter, making spring opening more difficult
Tools and Supplies Needed
Gather these items before starting your skimmer winterization:
- Expandable rubber skimmer plugs (see manufacturer specs for correct size)
- Pool antifreeze (propylene glycol)
- Shop vacuum or air compressor
- Skimmer winter cover or solid safety cover
- Basic tools (screwdriver, wrench set)
- Clean storage containers for removed parts
When to Call a Professional
Consider hiring a pool service company if you're uncomfortable working with plumbing connections, don't have the proper equipment to blow out lines, or if your skimmer system is particularly complex with multiple returns and valves. The cost of professional winterization is much less than repairing freeze damage.
Spring Opening Considerations
Keep your removed skimmer components in a labeled container so you can easily reinstall them when opening your pool. Check all parts for winter damage before reinstalling, and replace any cracked baskets or weir doors before the swimming season begins.
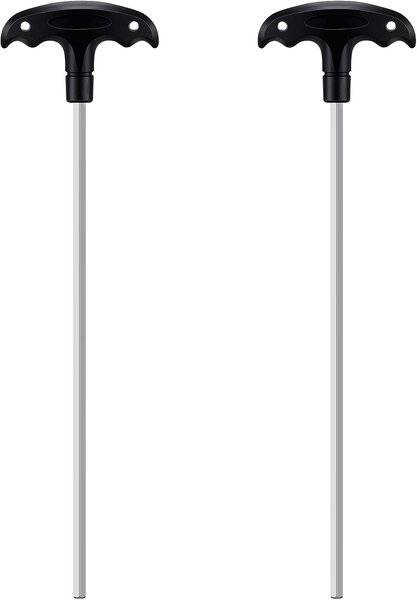 Pool Safety Cover Hex Key Tool (2-Pack)
Hex keys to install or remove a pool safety cover. View on Amazon →
Pool Safety Cover Hex Key Tool (2-Pack)
Hex keys to install or remove a pool safety cover. View on Amazon →
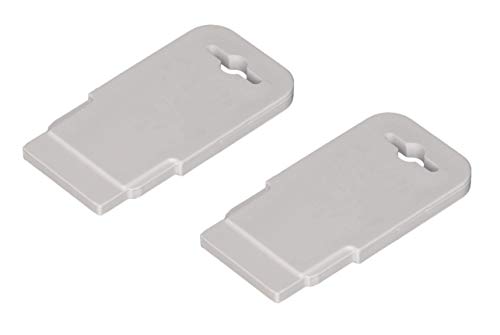 Pool Eyeball / Return Jet Fitting Removal Tool (ATIE)
Pops out & reseats Hayward SP1419 return-jet eyeballs — handy for closing. View on Amazon →
Pool Eyeball / Return Jet Fitting Removal Tool (ATIE)
Pops out & reseats Hayward SP1419 return-jet eyeballs — handy for closing. View on Amazon →
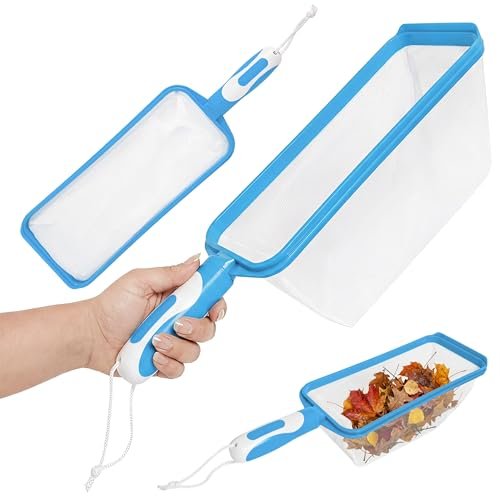 The Skimmie Handheld Pool Skimmer Net
Grab-and-go hand skimmer for leaves and debris off the surface. View on Amazon →
The Skimmie Handheld Pool Skimmer Net
Grab-and-go hand skimmer for leaves and debris off the surface. View on Amazon →
Still need help? Ask a Pool & Spa Expert AD
Get a personalized answer from PoolGuy810 — 30 years owning a pool and spa repair company. Describe your issue and get step-by-step help.
Related Pool Guides
Need More Help?
Try our free pool calculators and tools to help diagnose and fix your pool problems.
Browse Pool ToolsSLAM calculator, pH calculator, salt dosing & more