How to Find Pool Leak: Complete Detection Guide 2026

What's the best way to locate a leak in my swimming pool?
Read full question
Got my pool water level dropping a massive 2-3 inches this week and there's definitely something wrong beyond normal evaporation. My water chemistry is balanced (chlorine at 2.5 ppm, pH 7.4, alkalinity 120 ppm), so I don't think it's a chemical issue causing excessive evaporation.
I suspect there might be a leak somewhere but I'm not sure how to pinpoint the exact location. Should I be checking around the skimmers and return jets first? I've heard about using food coloring to detect leaks but I'm not sure of the proper technique. Also wondering if there's a way to test whether it's a structural leak versus something in the plumbing lines.
What's the most systematic approach to track down where exactly the water is going? I'd rather diagnose this myself before calling in a expensive leak detection service if possible.
Quick Answer
To find a pool leak, first use the bucket test to confirm water loss, then use food coloring dye tests around suspected areas like skimmers and returns. For plumbing leaks, perform pressure tests on individual lines.
Confirming You Have a Leak
Before searching for leak locations, verify you're losing water beyond normal evaporation rates. Hot, windy, or low-humidity conditions can cause significant water loss that mimics leaks.
The Bucket Test Method
- Fill a 5-gallon bucket with pool water to within 2 inches of the rim
- Place the bucket on a pool step or shallow area where it's partially submerged, weighted down so it stays in position
- Mark the water level inside the bucket and the pool water level outside
- Wait 24 hours without running equipment or adding water
- Compare water loss between bucket and pool - if the pool loses significantly more water than the bucket, you have a leak
Normal evaporation ranges from ⅛ to ¼ inch daily, depending on weather conditions. Loss consistently beyond your bucket's evaporation rate (more than about ¼ inch/day above the bucket) typically indicates a leak.
Visual Inspection for Obvious Signs
Start your leak detection with a thorough visual examination of common problem areas:
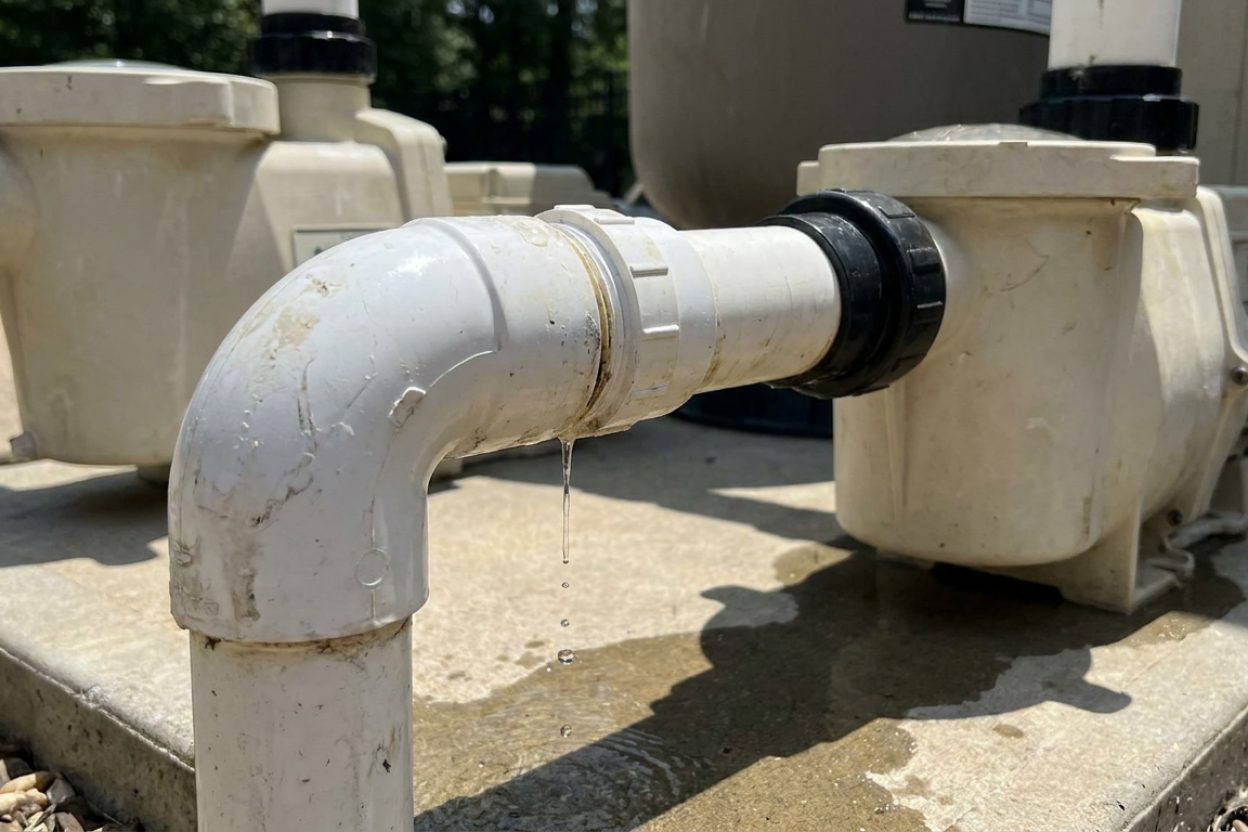
Equipment Area Inspection
- Check around the pump, filter, and heater for wet soil or standing water
- Inspect all visible plumbing connections and unions
- Look for rust stains, mineral deposits, or corroded fittings
- Examine the multiport valve on sand and DE filters
- Check the pump lid O-ring and basket housing
Pool Structure Examination
- Inspect tile line and coping for cracks or separation
- Look for settling or sinking deck areas near the pool
- Check skimmer and return fittings for loose or cracked faceplates
- Examine light niches for water infiltration
- Look for cracks in plaster, liner wrinkles, or fiberglass gel coat damage
Dye Testing for Structural Leaks
Once you've identified suspicious areas through visual inspection, use dye testing to pinpoint exact leak locations.
Dye Test Procedure
- Turn off all pool equipment to eliminate water movement
- Wait 30 minutes for water to become completely still
- Use food coloring, leak detection dye, or even dark-colored test reagent
- Squeeze dye near suspected leak areas underwater
- Watch dye movement - it will be drawn toward active leaks
- Test around skimmer throats, return fittings, light niches, and visible cracks
- Mark positive locations with underwater chalk or removable tape
Safety Warning: Always test electrical systems before entering the pool. Turn off power to all underwater lighting and equipment.
Pressure Testing Plumbing Lines
If visual inspection and dye testing don't reveal the leak source, the problem likely exists in underground plumbing lines.
Individual Line Testing
- Shut off pool equipment. Pressure testing is normally done from the equipment pad with each line plugged at the pool — you generally do not need to drain the pool. Warning: Never drain your pool more than necessary, as this can cause structural damage from ground water pressure, especially with vinyl liners
- Remove return fitting eyeball fittings and plugs
- Install test plugs with pressure fittings (available at pool supply stores)
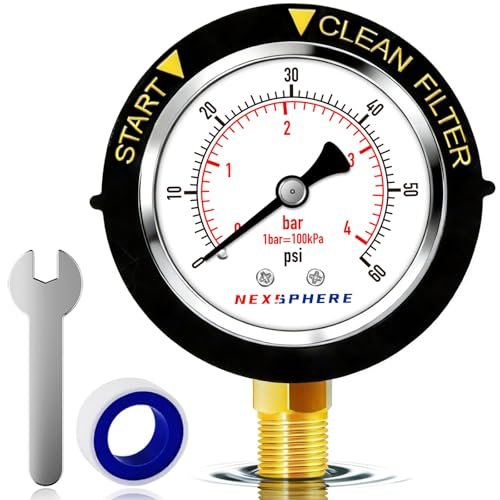
- Connect air compressor or manual pump to pressurize each line to 5-10 PSI (older systems and vinyl liner pools may require even lower pressure - start at 3-5 PSI)
Safety Warning: Use extreme caution with compressed air. Monitor PSI gauges closely to avoid over-pressurization. Wear safety glasses and ensure all fittings are secure before pressurizing.
- Monitor pressure for 15-30 minutes - lines holding pressure are intact
- Lines losing pressure have leaks requiring professional repair
- Test skimmer, main drain, and return lines separately
Professional Equipment Options
For complex leak detection, consider renting or hiring professionals with specialized equipment:
- Electronic leak detection equipment that amplifies leak sounds
- Helium detection systems for precise underground leak location
- Camera inspection of drain lines
- Thermal imaging to identify temperature variations indicating leaks
Common Leak Locations and Solutions
Skimmer Leaks
The most common pool leak location occurs around skimmer boxes where plumbing connects to the pool structure. Look for separation between skimmer and pool wall, cracked skimmer throats, or loose plumbing connections underneath.
Return Fitting Issues
Return fittings often develop leaks where they penetrate the pool wall. Check for loose fittings, cracked gaskets, or separation around the fitting perimeter.
Main Drain Problems
While less common, main drain leaks can be significant. These typically require professional repair due to depth and complexity.
When to Call Professionals
Consider professional leak detection services when:
- Multiple detection methods don't locate the leak source
- Leak appears to be in underground plumbing
- Pool is losing more than 2 inches of water daily
- You're uncomfortable performing pressure tests
- Leak detection requires specialized electronic equipment
Professional leak detection typically costs $300-500 but can save thousands in unnecessary excavation or repairs.
Temporary Leak Management
While arranging repairs, maintain proper water chemistry and consider:
- Adding water as needed to maintain skimmer operation
- Using leak seal products for minor structural cracks (temporary solution only)
- Installing an automatic water leveler to prevent pump damage
- Monitoring water loss rates to track leak progression
Remember that finding pool leaks requires patience and systematic testing. Start with simple methods like the bucket test and visual inspection before moving to more complex pressure testing procedures.
Still need help? Ask a Pool & Spa Expert AD
Get a personalized answer from PoolGuy810 — 30 years owning a pool and spa repair company. Describe your issue and get step-by-step help.
Need More Help?
Try our free pool calculators and tools to help diagnose and fix your pool problems.
Browse Pool ToolsSLAM calculator, pH calculator, salt dosing & more